Showing posts with label swap. Show all posts

Saturday, June 13, 2015

While I keep vigil for the mailman...

Here's another UFO (unfinished object) from the closet. I wanted to sew something, but didn't want to start on a new project. (More on that, later.)


I was part of a swap; lots of little squares sewn together and sent to one another around the US to make scrappy patchwork quilts. Then I got tired of the patches all crowded together, and re-shaped them into asymmetrical blocks and sewed them together. Then I got tired of the whole thing, and put it away.

I mindlessly sewed some neutral strips around the edges, then wondered why I had bothered with that. Then I got distracted by all those little pairs of squares that had been saved with the quilt top. Had I meant to use them as a border? A scrappy binding?

Now I thought I'd like to just sew them up as a traditional patchwork.


Then I quilted them, using one of my favorite designs. As I'm sewing, I see all the little wobbles and inconsistencies, but when it's done, the overall design takes over. My not-so-circular lines appear as lovely, interlocking circles.


Even better once they've been washed! (Yes, we're in a drought, so it had to wait to take a ride with a full load of laundry.)

I sewed two panels back to back, to make a pillow. No piping, no zipper, because I wanted to see the checkerboard pattern all around. I'll just stuff this one, and sew it shut. When it needs to be washed, I'll un-stitch it and redo it, no big deal. Nice, summery colors, soft, squishy, ahhh.

The quilt top? It's back in the closet. I'm clearing the deck, getting ready for this to come home:
A year ago, I took a workshop to learn hand applique, and made this big panel. (Pattern by Piece o' Cake) Then I sent it off to its travels to the different members of my Stars in Their Eyes quilt bee. Each one, in turn, has added to it, and today it's supposed to come home to me via USPS! I have no idea what I'll get, but I have seen what we've been adding to one another's tops as it's been my turn on their travels. I'm trying to keep my mind open, to be ready for anything, but really, I have great expectations!

Monday, June 17, 2013

feathers


I wanted to name this post "the birds and the bees," referencing this quilt block and the ladies in my online quilting bee who are making it . I named my last post "Orphans," which attracted lots of traffic to my blog, but for the wrong reasons. I wonder what kind of traffic and comments I might get with "the birds and the bees" as a title!

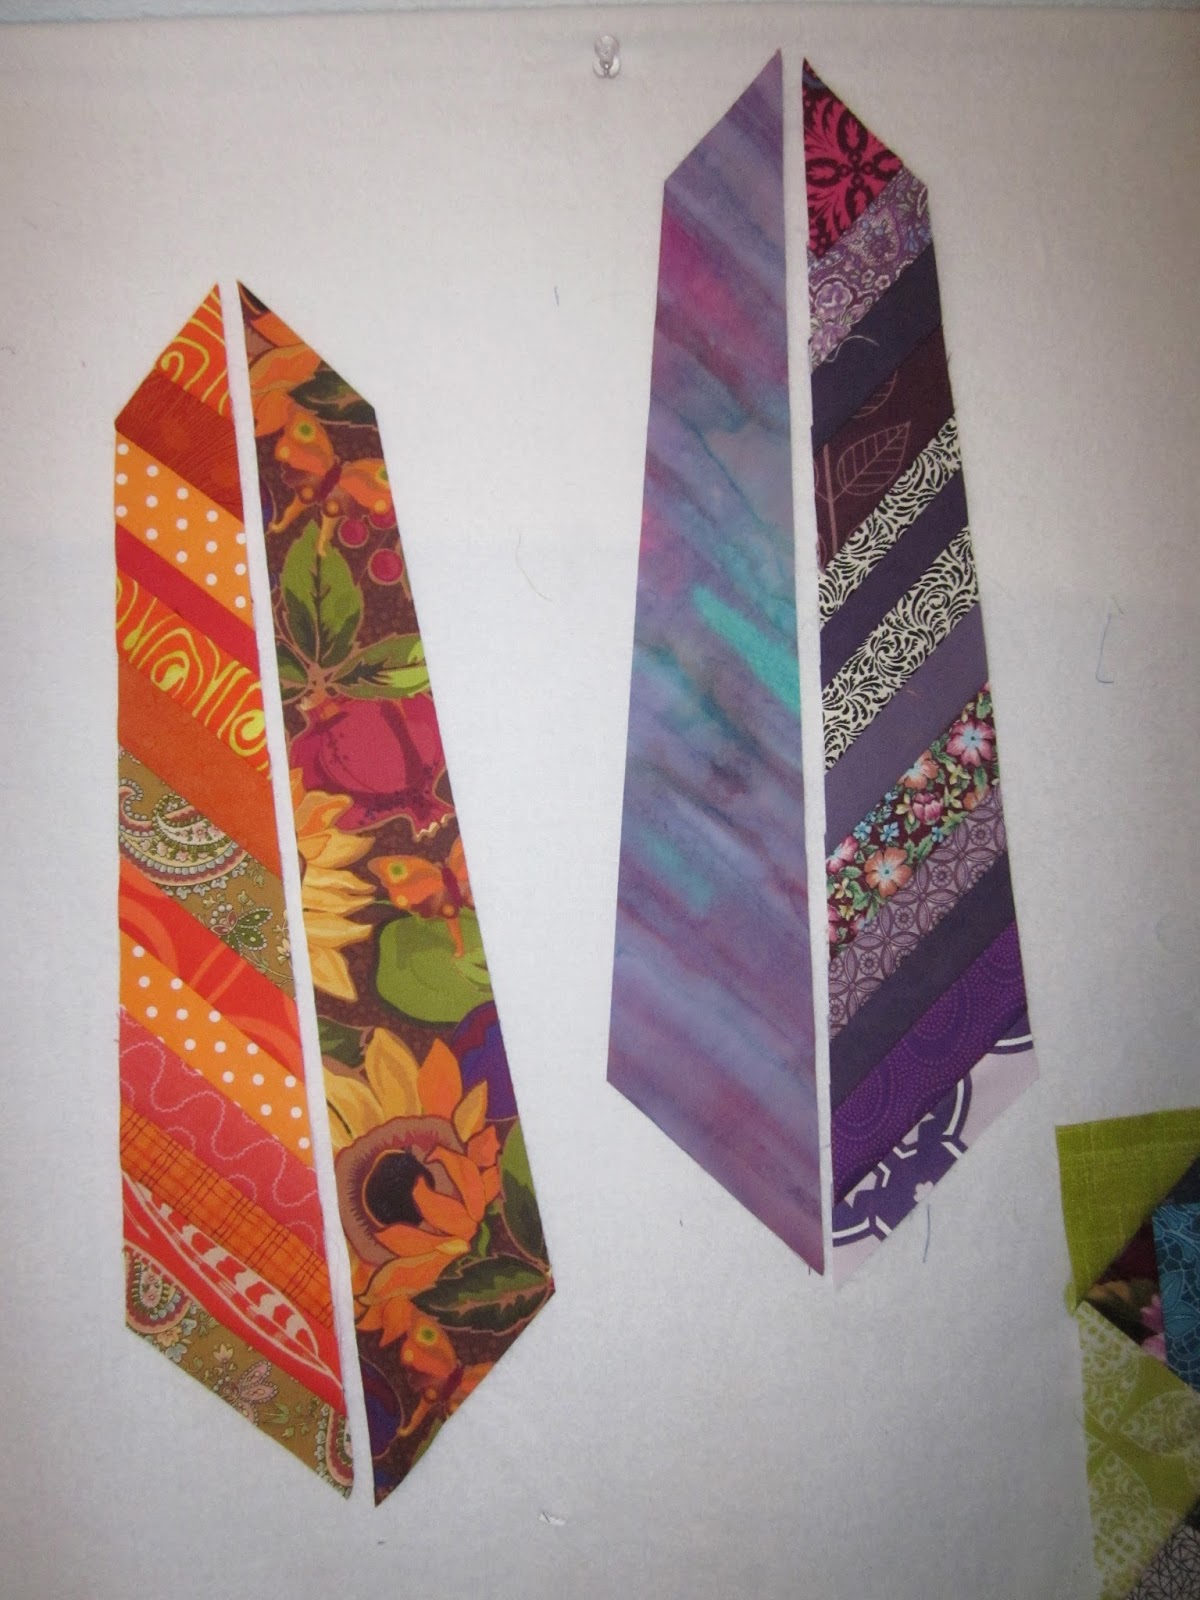
July is my month for our Stars in Their Eyes bee. (This is an online group of friends who take turns making quilt blocks for each other.) I’ve chosen Anna Maria Horner’s Feather Bed block, one that really caught everyone’s attention when it was introduced. I’m really excited to see my friends’ creations of this bold and colorful block!
Sam of Cup of Tea and a Slice of Cake has already made two blocks for me, here's her first!
The instructions for making this block start with making a fabric strata (a lot of fabric strips sewn together) to cut multiple vanes (side sections of the feathers) from. Since I’m asking my friends to make two feathers for me, and variety is a goal for these feathers, it makes more sense to me to paper-piece the individual sides.

On my first try, I pulled out a pile of strings from recent projects. Most of them were 1” to 1.5” wide, and the vanes ended up taking 12-16 strips to finish. It created a dense texture, and since I was experimenting with monochromatic strips, they’re kind of serious looking. I thought they were too dense to make both sides of a feather like this, so I paired each vane with a single fabric for the other side.

The feathers in the pattern, and the feathers Sam made already are bright and colorful, I like them better than my first attempt! So I tried again. This time I pulled out 2.5” strips, and looked for color contrast between the strips. Here’s a suggestion: I paper pieced the vanes, and removed the paper before I trimmed the shapes, because the bias edges stretch out of shape easily. After I removed the paper backing, I traced another pattern piece onto freezer paper, then ironed it onto the sewn-together strips, placed my ruler on top of the pattern,  and cut out the shape. Freezer paper has a waxed backing that adheres to the fabric when ironed on, and it peels off easily without leaving any residue. That made it easy to line up the pattern piece with the strips angled correctly, and to cut without the pattern shifting.


Another suggestion is one Sam made: cut the background pieces bigger than you need, so you don’t have to get the angle and alignment perfect when adding the background to the feather. This is especially advantageous when adding the little wedges at the top of the feather.

You’ll notice, too, that I used two different values of Kona gray fabric for the backgrounds of the feathers I made, and they are different from the gray Sam used for the blocks she made for me. Any gray fabric is good for these feathers. *Black background fabric is acceptable, too.* Use what you have, what you think works best with your feather fabric. The quill, or shaft of the feather can be any neutral color, too.

When you’ve sewn together the feather and the background, I’m asking my friends to send two unfinished feathers, not sewn together. Each feather block should be 9.5”x18.5,” but I won’t mind if they’re a little bigger, or even a little smaller.
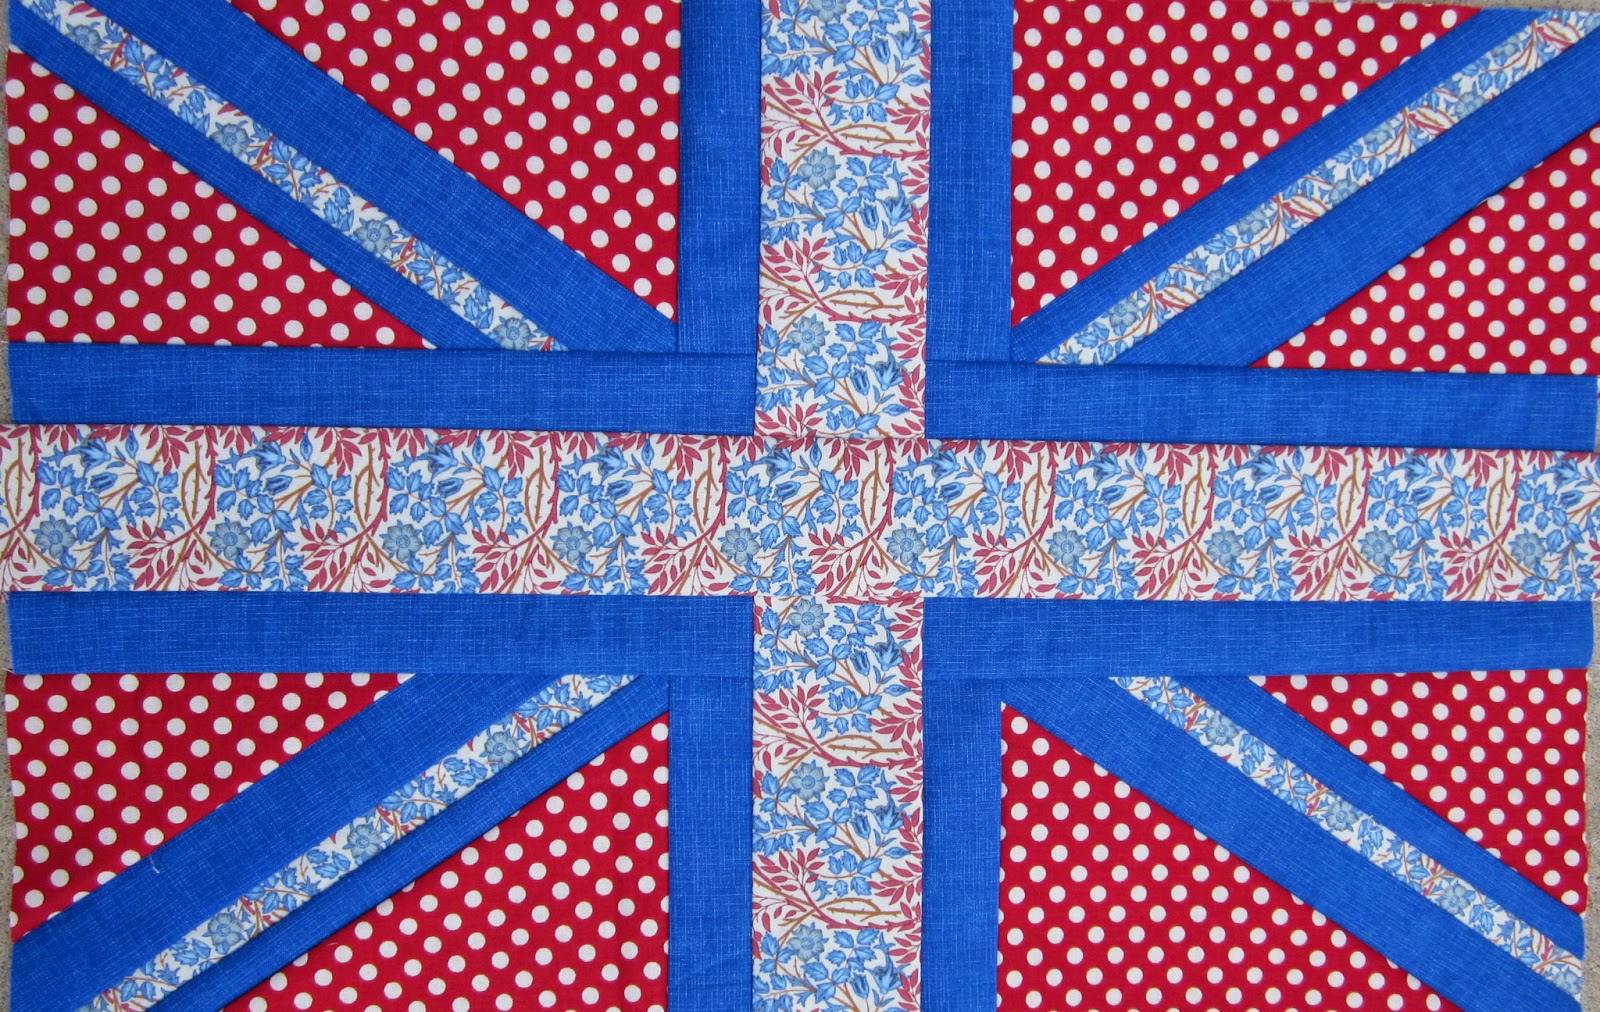
I hope my friends will have fun making this block, just as we did making Lisa's x&+ blocks and Sam's Union Jack blocks.


Thursday, March 28, 2013

Yep, I finished that!

Here's Melissa's charity quilt, finished. Remember, Melissa helped design the quilt, and I sewed it for her. Quilted with loops and flowers in a few focal points, and stitched-in-the-ditch throughout. Backed with the same fleece as Melissa's own quilt.
It's so windy outside, the only way to take a picture is to lay it out on the grass! 
I've mailed the quilt to Melissa, and she's spending some time loving it. She wouldn't be the first person to fall in love with something she's created, and to change her mind about giving it away! 


I finished the Liberated Wedding Ring quilt, too! I just love these colors and prints, and the way the rings interlock and re-form.
 It's been washed so you can see all of its crinkly goodness. I outline-quilted a few of the rings, hoping they'd stand out a little, but they don't. Now I know I'd need to trapunto them, to add extra batting in just those areas. I'll try that sometime, in another quilt.

 You can see in this next photo the border quilting, a mandorla shape and a diamond. (I had to look up the word to describe the pointed ellipse, or almond shape, between the diamonds, and I'm sure I'll never use the word again. Still, it's good to know there's a word for it!) Anyway, I chose it because it echoes the shapes made by the bisecting rings in the quilt design.

The quilt has an over-all vine and flowers pattern quilted on it, achieved by outline-quilting this large-scale floral print on the back of the quilt. I'd seen the technique at last year's quilt show, and recently I took a workshop class to learn it from an art quilter. My new sewing machine (a Pfaff Expression3.0) produces beautiful, even stitches on both sides of the quilt, and it turned out great! I love the loose, overall design on this busy quilt.
 The bright, cheerful floral compliments the blues and greens on the front, I think.


 Do you remember when I received this mini quilt in a swap?
 It sat on the railing for a year and never really belonged anywhere. What I really had wanted to ask for in the swap, was a sewing machine cover. I knew, though, that I'd eventually get a new, bigger machine, so I simply asked for whatever the swapper wanted to make.
I still wanted a sewing machine cover, however, and even more now that I have the machine I'd looked forward to getting! So, I took the mini-quilt apart, and re-made it into this really great-looking cover!
I also took inspiration from my table partner at the sewing workshop, and made the mug-cozy here, to hold all several of my sewing gadgets. I love sewing gadgets!

There have been some new babies born in the family, so I made some of my favorite booties.

Bethany sent me this photo of Poppy's I Spy quilt on her new bed. Many of the blocks in this quilt were made by partners in the 3x6 online block swap. I like how the sides of the quilt are long enough to hang nicely or get tucked in, and that you can still see the blocks, even under the foot of the bed. Isn't it sweet?

 Something new, and unfinished:
Last August I won some fabric from Lily's Quilts, a line called Indie from Pat Bravo's Art Gallery Fabrics.
Then I bought some more, from the same line, and let it sit for a while. Over and over, though, I've loved Sujata Shah's designs on The Root Connection, and I decided to throw all of this line, plus a few batiks and solids from my stash into making her Painted Zigzag. Here's my version, in progress on my design wall.


This weekend is Easter. Here's a picture from a long, long time ago of our friend Nancy (who reads this blog!), Ralph, and me, dressed as Three Blind Mice. We could pass for Easter bunnies, I think!
Which of my finishes is your favorite? Have you finished something lately?