Showing posts with label quilting. Show all posts

Saturday, June 13, 2015

While I keep vigil for the mailman...

Here's another UFO (unfinished object) from the closet. I wanted to sew something, but didn't want to start on a new project. (More on that, later.)


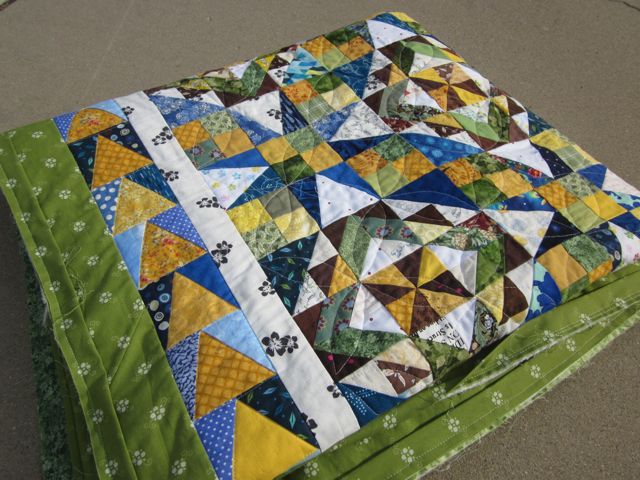
I was part of a swap; lots of little squares sewn together and sent to one another around the US to make scrappy patchwork quilts. Then I got tired of the patches all crowded together, and re-shaped them into asymmetrical blocks and sewed them together. Then I got tired of the whole thing, and put it away.

I mindlessly sewed some neutral strips around the edges, then wondered why I had bothered with that. Then I got distracted by all those little pairs of squares that had been saved with the quilt top. Had I meant to use them as a border? A scrappy binding?

Now I thought I'd like to just sew them up as a traditional patchwork.


Then I quilted them, using one of my favorite designs. As I'm sewing, I see all the little wobbles and inconsistencies, but when it's done, the overall design takes over. My not-so-circular lines appear as lovely, interlocking circles.


Even better once they've been washed! (Yes, we're in a drought, so it had to wait to take a ride with a full load of laundry.)

I sewed two panels back to back, to make a pillow. No piping, no zipper, because I wanted to see the checkerboard pattern all around. I'll just stuff this one, and sew it shut. When it needs to be washed, I'll un-stitch it and redo it, no big deal. Nice, summery colors, soft, squishy, ahhh.

The quilt top? It's back in the closet. I'm clearing the deck, getting ready for this to come home:
A year ago, I took a workshop to learn hand applique, and made this big panel. (Pattern by Piece o' Cake) Then I sent it off to its travels to the different members of my Stars in Their Eyes quilt bee. Each one, in turn, has added to it, and today it's supposed to come home to me via USPS! I have no idea what I'll get, but I have seen what we've been adding to one another's tops as it's been my turn on their travels. I'm trying to keep my mind open, to be ready for anything, but really, I have great expectations!

Saturday, April 11, 2015

Indie Groove

It seems I've had a serious case of blog flu, unable to write or post without being intimidated by ideas and overcome by procrastination. Now I need to use it or lose it, and I'm not quite ready to give it up.

I never showed you this quilt in its entirety, did I?
Indie Groove

Two years ago I won some of Pat Bravo's Indie fabric from Lily's Quilts. It seemed ideal to pair with Sujata Shah's Painted ZigZag quilt pattern. I think it's fascinating to follow the flow and break of the colors in the zigzags. 


I quilted it with a metallic copper thread. Maybe it's lost in the busy-ness of the fabrics, but I like to think it adds to the pizzazz of this pattern!


You can see here how I quilted from the back of the quilt, loosely following the floral pattern on the backing to get an overall floral design on the front.

Now this quilt has gone to live at Cris's house. The colors are perfect for her! It was great fun to surprise her with this gift for her birthday. 


Saturday, May 17, 2014

Two steps forward, one step back.

I'm making progress on my Harold and the Purple Crayon mini quilt. After I'd fused and glued all the white foreground and purple cording, I remembered that I'd intended to quilt the background before I added anything to it. Now, like Harold, I am going to come up with another strategy to meet the needs of this project. I'm going to try to FMQ some words in the background.

I must enhance Harold's face and hand.
I'm nervous about doing it with stitching,
and may stick with permanent ink.
I'm also working on this small quilt, which I am currently calling Farm Girl. 
It also must be finished in the next two weeks so it can hang in the upcoming multi-guild quilt show. It needs more quilting in the motifs, quilting in the border, words in the center of the wreath, and some hand quilting. And binding, and a hanging sleeve on the back. 
It would be fun to quilt every inch of this thing, but I'm going to call it finished, soon!
You can see the wreath needs an outline stitch, and I'll add a phrase in the middle.
I'm going to try the lettering feature on my sewing machine.

I have bee blocks to make for this month, too. Lisa McG's request for paper-pieced Mosaic blocks led to flurry of fabric pulling to find cute features for the centers of the quadrants. Lisa has graciously agreed to me sending her the quadrants not sewn together into blocks, and  with their paper still on the back. She can mix them in with hers, and that's another project crossed off my list!

So much cuteness!

I have yet to make bee blocks for Lysa M, but I think I'll be squeezing those into the last few days of the month. Unless, of course, we decide to go away for Memorial Day weekend. Then I'll hole myself up in my sewing room, and the family will have to fend for themselves. ahhh, sewing stress is the best kind of stress!


Saturday, April 5, 2014

Blow me away!

It's springtime on the central coast, and that means wind!

This quilt has been finished for several weeks (Remember when I was working on it back here?), but it takes two to hold it up, plus decent weather to photograph. Now I'm tired of waiting to put this one away, and I have young adults at the house today, to serve as quilt holders.

There are three holding this quilt, and it threatened to sail them across the lawn!

 This is a true scrappy quilt, in which I tried to use up all the little scraps in my door-hanger scrap collection.
It was tame in this picture. Now it's overflowing, again!

I used up a lot of unfavorite fabrics by cutting them into little pieces and putting them in the background. I also used some very favorite fabrics. They're all jammed together, making this a very busy quilt, but it turns out I like busy quilts! I think the scrappiness invites the viewer to explore the pattern and fabrics.

 Still, because it has so much going on already, I wanted the quilting to be simple, and to blend all the blocks together. So, an all-over meander stitch. Only a couple places where my stitch line crosses itself, and yes, it did seem to take forever!

I haven't washed this quilt yet, to get the crinkly-soft texture I love, but since I don't have any quilting marks to wash out, I'm just going to put this on the bed in the guest room. I'm looking forward to some special company coming in 10 days!


Pattern: Japanese x&+ quilt. I used Amy's tutorial at Badskirt.


Friday, February 7, 2014

First Finish - Feathers!


Feathers is my first quilt finish of 2014

I'm part of a very friendly and creative online sewing bee called Stars in Their Eyes. When I asked my hive-mates to make me two feathers using
Anna Maria Horner's pattern, they all said it was a block they'd wanted to try, and they produced some gorgeous feathers! My instructions were to use fall colors, including purple and aqua and blue, and to use any gray for the background.


I realized, when I'd received all the blocks, that I could put them in an ombre arrangement, which is quite fashionable these days. You see hair, clothing, cakes, all sorts of things with a color gradation from dark to light. I made a few more blocks to complete the rows, and sewed them all together.

When I saw it all together, I knew I wasn't going to give it away as a gift, as I'd first thought, but I was going to keep it for myself! Then I started thinking, maybe I'd make it bigger, because it would look so good covering a bed. Should I make more feathers? I didn't really want to have more feathers made by me, and I wasn't patient enough to wait for my next turn in the bee to ask for more feathers made by my hive-mates. I auditioned some borders, but they detracted from the geometry and bold colors of the feathers.
I like our feathers better than these printed feathers.

It was one of those evenings when DH was out of town, and I was reveling in being able to stay in my sewing room, and I could set up the ping pong table in the garage to spray baste, that I stitched up the quilt back and put the layers together and marked my first few lines and started quilting it! Time to "git 'er done!"
Have I mentioned how much I really like
the crinkly texture a quilt gets when it's been washed?

I quilted chevrons: big, wide zig zags, another current fashion. (Because I'm so stylish like that... ha!) I really like how the quilting plays with the angles of the feathers, and how it crosses the lines where the background grays change from one tone to the next.

I realized after I'd started quilting it that I'd forgotten to sew the "siggy" blocks into the backing of the quilt. Each of my hive-mates had made a small block with their signature on it. As you can see in the photo, I trimmed them to circles and hand appliqued them to the soft, gray flannel back.
Thank you, Lisa, Sam, Sue, Becky, and Brandy!


The binding is in a text print, in reference to the online conversations that I enjoy so much with this bee.

Here's the big reveal!

If only my photography skills were better! 


Cozy and stylish in my family room.

and with


Tuesday, January 21, 2014

Here's to the new year!

Sigh. Vacation is over. Time to go back to work.

You'd think with a month-long break in the school schedule, I'd have plenty of time to write a blog post, right? Nope! I have filled my free time with family and fabric!

We enjoyed one of the most fun Christmases ever. We were in Pittsburgh, where the weather wasn't as freezing as it might have been, and there was snow! DD planned lots of fun activities, and there was time to hang out, too.
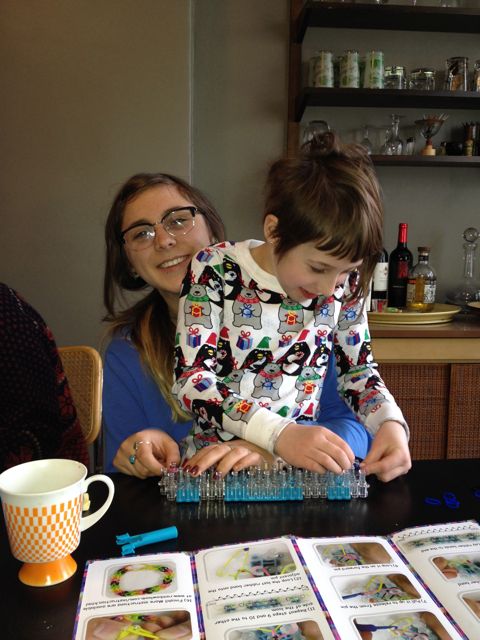

Making rubber band bracelets.

The little family!

Operation! Poppy's going for the Charley Horse,
while John is missing his girlfriend,
and showing his broken heart.


Now I can show you some cute Christmas gifts I made.

My mom and my niece, Ellie, told me they'd like a jewelry roll for taking earrings with them when they travel. I used a tutorial from Fiberosity to make these. I'd love to share a link to the tutorial, but my computer won't connect to it anymore... that probably means it's been pulled off the website to be published in a book.
Little zippered pockets to keep earrings safe.
The one in the middle is my first try.
 I tweaked the pattern for the others, and had fun quilting them.
This is what they look like rolled up.


Bonnie Hunter posts a mystery quilt on her blog, Quiltville, that starts after Thanksgiving and this year ended at New Year's Day. It's a mystery because she gives instructions for one unit of the quilt blocks at a time, and you don't know how they'll be put together until the end.  Last year I joined in and made all the blocks for Easy Street, but the blocks are sitting in a basket, waiting to be sewn together and made into a quilt. Truth be told, I wasn't happy with the fabrics I used. I think my background black-and-white fabrics are too busy, and I used shades of aqua and green and purple that get lost in the pattern. 
Don't worry, I'll finish it!

Bonnie was inspired for this year's mystery quilt by her visit to Ireland, where she loved the green hills. I immediately thought of my love for summer's golden hills here on the Central Coast of California, and decided to use fabrics in my stash to reflect the dark oaks on the hills, and the blue skies, and the ocean. 

I made triangle units

                                      
and diagonal units that got turned into chevrons

and half-square-triangles that got turned into pinwheels
and when all the blocks were done, some of my color placements weren't ideal. I wanted to make a rectangle instead of a square quilt, so I made more blocks, and scattered a few with the different color placement throughout. If you squint, you can see a few white diamonds scattered in the blue rings. That's the effect the entire quilt was meant to have, but my dark browns and yellows were reversed. 
Poor nighttime picture...

I've sewn it all together, with borders, and I've quilted it already! I used Elizabeth Hartman's dogwood pattern, and I definitely got better as I went along! I think the wobbly stitches will blend in when the quilt is washed, and the quilt puckers up around the stitching in that cozy way I like so much!
The colors are truer in this pic!


Right now the binding is on, ready to be hand-stitched on the back, and I intend to hand-stitch something in the border, too. Can I wait until the Olympics to do it, so I have something to do while watching the Games? 

Monday, June 17, 2013

feathers


I wanted to name this post "the birds and the bees," referencing this quilt block and the ladies in my online quilting bee who are making it . I named my last post "Orphans," which attracted lots of traffic to my blog, but for the wrong reasons. I wonder what kind of traffic and comments I might get with "the birds and the bees" as a title!

July is my month for our Stars in Their Eyes bee. (This is an online group of friends who take turns making quilt blocks for each other.) I’ve chosen Anna Maria Horner’s Feather Bed block, one that really caught everyone’s attention when it was introduced. I’m really excited to see my friends’ creations of this bold and colorful block!
Sam of Cup of Tea and a Slice of Cake has already made two blocks for me, here's her first!
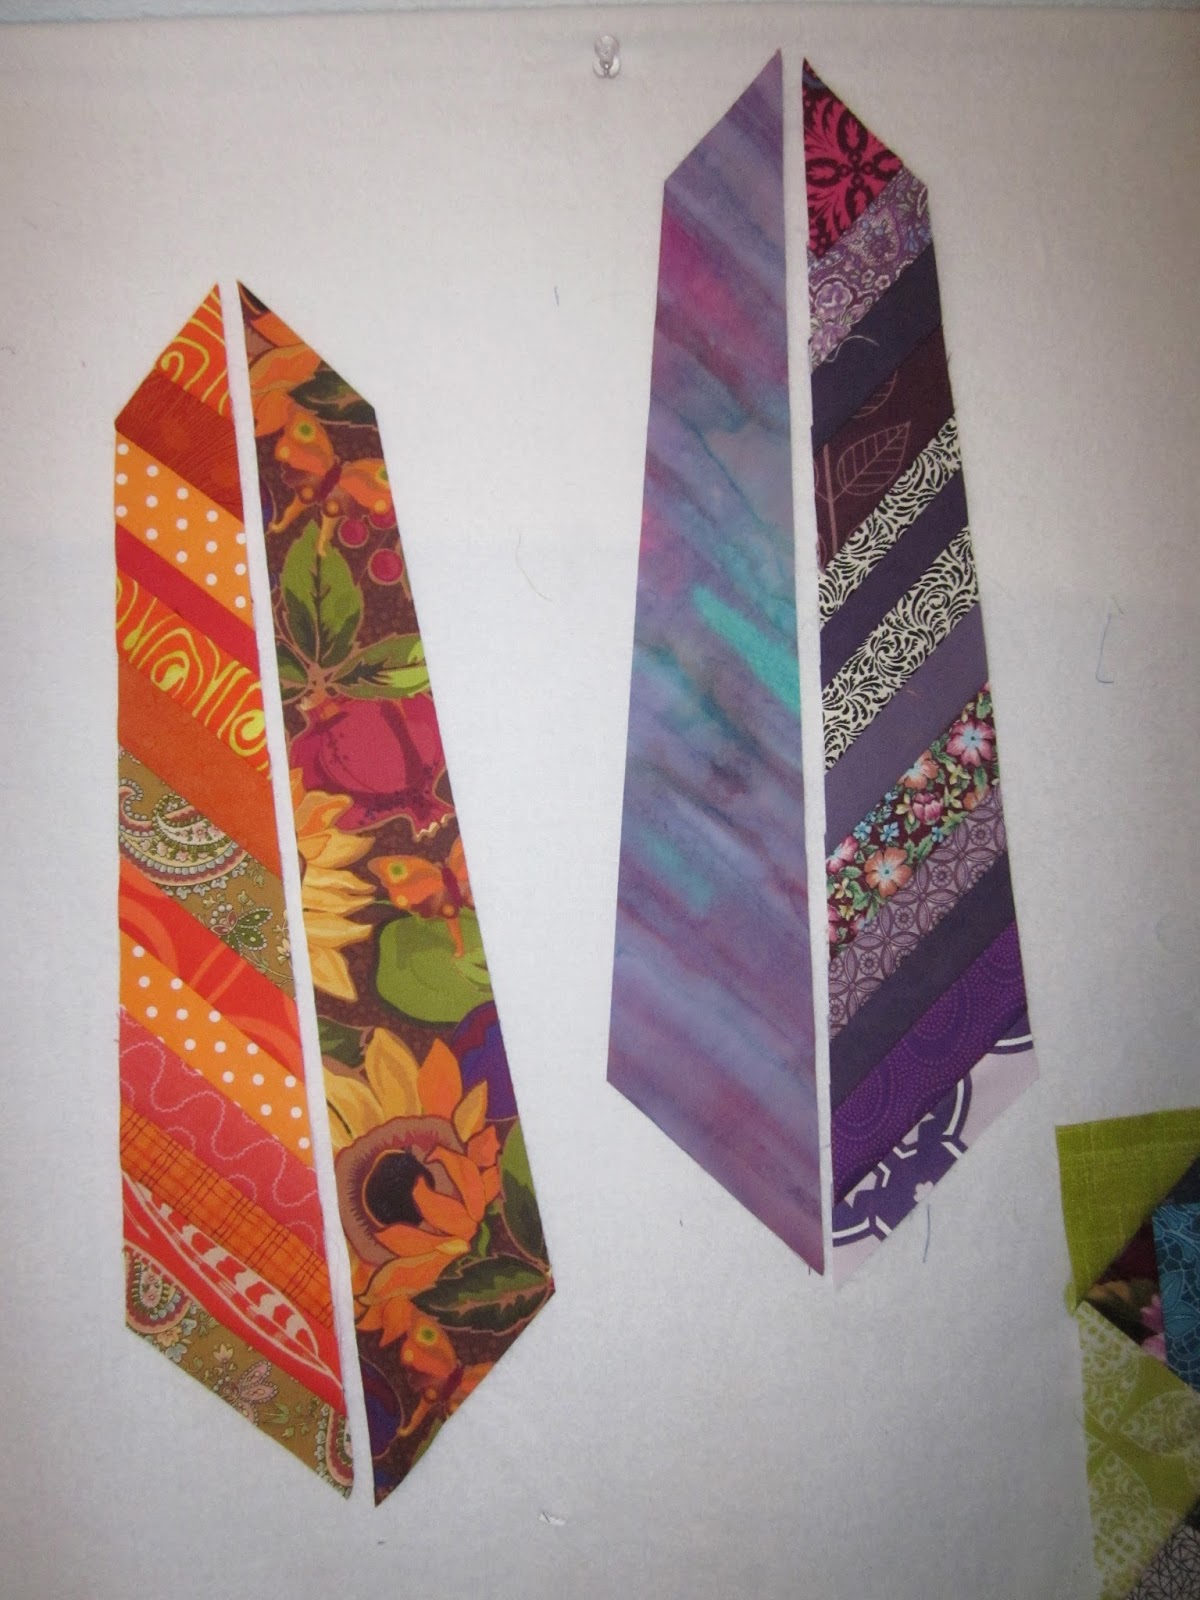
The instructions for making this block start with making a fabric strata (a lot of fabric strips sewn together) to cut multiple vanes (side sections of the feathers) from. Since I’m asking my friends to make two feathers for me, and variety is a goal for these feathers, it makes more sense to me to paper-piece the individual sides.

On my first try, I pulled out a pile of strings from recent projects. Most of them were 1” to 1.5” wide, and the vanes ended up taking 12-16 strips to finish. It created a dense texture, and since I was experimenting with monochromatic strips, they’re kind of serious looking. I thought they were too dense to make both sides of a feather like this, so I paired each vane with a single fabric for the other side.

The feathers in the pattern, and the feathers Sam made already are bright and colorful, I like them better than my first attempt! So I tried again. This time I pulled out 2.5” strips, and looked for color contrast between the strips. Here’s a suggestion: I paper pieced the vanes, and removed the paper before I trimmed the shapes, because the bias edges stretch out of shape easily. After I removed the paper backing, I traced another pattern piece onto freezer paper, then ironed it onto the sewn-together strips, placed my ruler on top of the pattern,  and cut out the shape. Freezer paper has a waxed backing that adheres to the fabric when ironed on, and it peels off easily without leaving any residue. That made it easy to line up the pattern piece with the strips angled correctly, and to cut without the pattern shifting.


Another suggestion is one Sam made: cut the background pieces bigger than you need, so you don’t have to get the angle and alignment perfect when adding the background to the feather. This is especially advantageous when adding the little wedges at the top of the feather.

You’ll notice, too, that I used two different values of Kona gray fabric for the backgrounds of the feathers I made, and they are different from the gray Sam used for the blocks she made for me. Any gray fabric is good for these feathers. *Black background fabric is acceptable, too.* Use what you have, what you think works best with your feather fabric. The quill, or shaft of the feather can be any neutral color, too.

When you’ve sewn together the feather and the background, I’m asking my friends to send two unfinished feathers, not sewn together. Each feather block should be 9.5”x18.5,” but I won’t mind if they’re a little bigger, or even a little smaller.
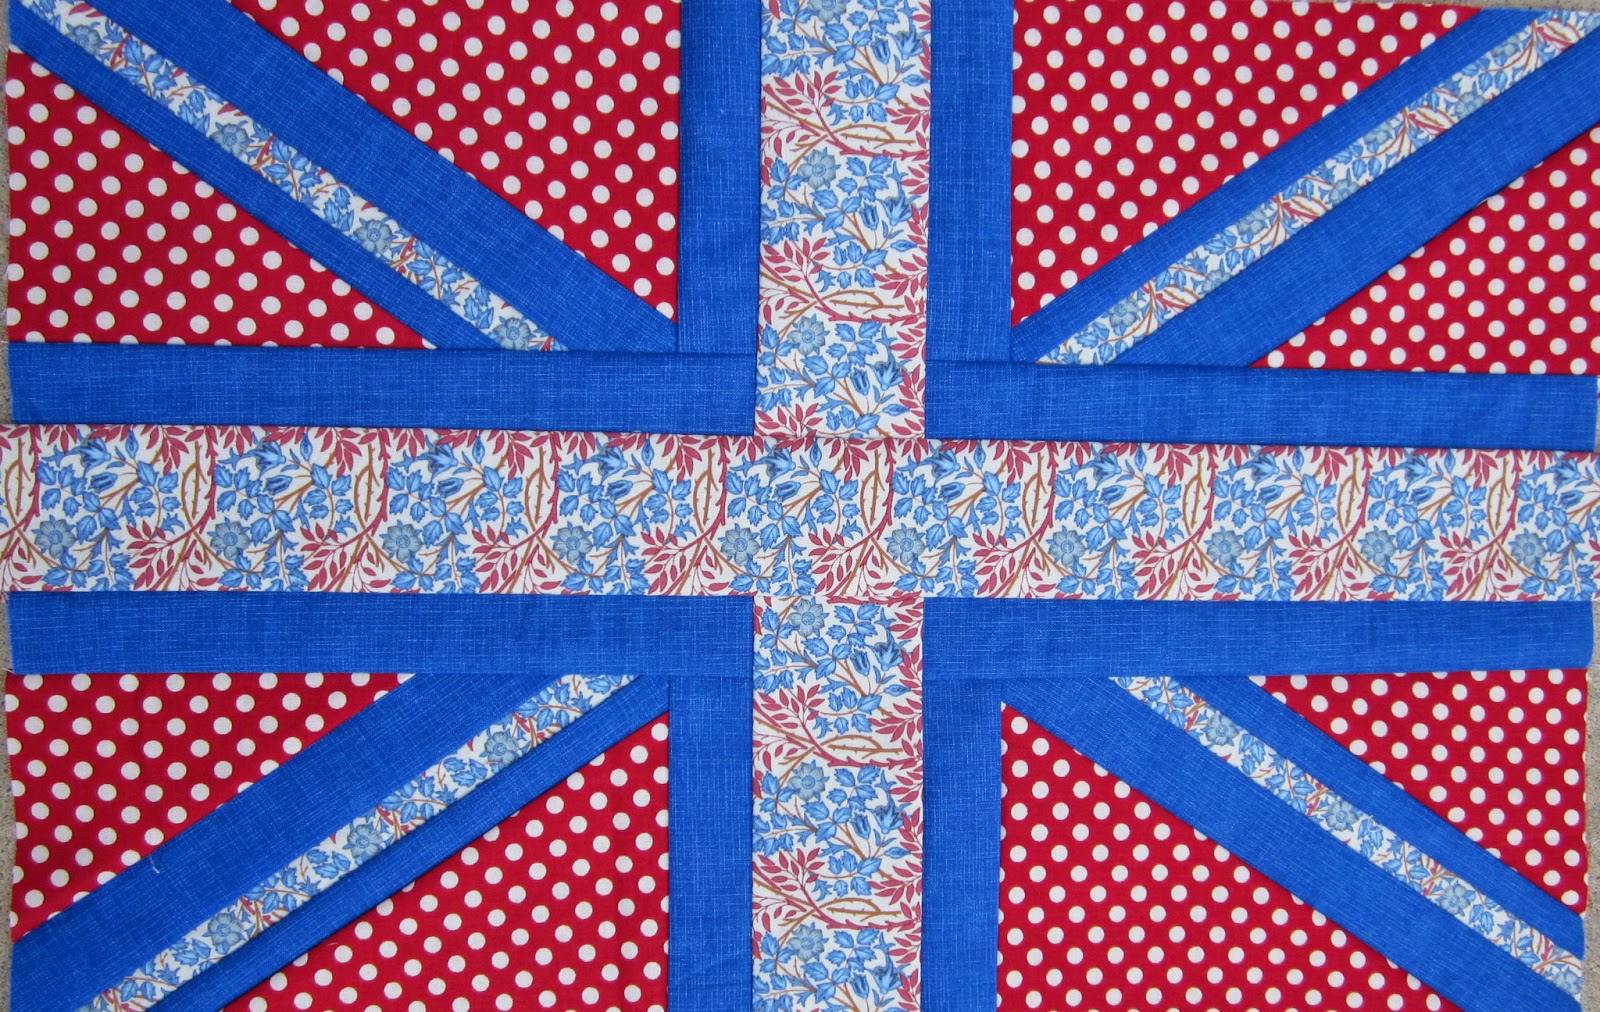
I hope my friends will have fun making this block, just as we did making Lisa's x&+ blocks and Sam's Union Jack blocks.